By Nudoru and Abstractment
So, you have an awesome gentk on fx(hash)! Congratulations! Now you want to send copies to your supporters and fans? Here’s our quick guide on how to do it.
The end goal is to get a CSV file that we can drop into http://batch.xtz.tools and have it do the work of passing out our tokens for us.
The CSV we’ll want to use for the batch tools site needs 3 columns: wallet IDs, fx(hash) token IDs, and quantity (1 for one per wallet). We’ve gone ahead and created this template for you to make it as easy as possible. When you click this link, it’ll require you to create a copy so that it’s your own unique copy.
Step 1 – Mint your tokens
This is the most manual and time-consuming part of the process. You need to manually mint each token that you want to airdrop. Put on a good show or some tunes to keep you occupied. Keep in mind that your transactions will fail if you try to process more than one mint within a single block. A good baseline is to wait 30 seconds between each mint or just wait for the confirmation to show on the fx(hash) page. You can also track the Tezos blocks here if you want to move quickly. Once you’re done and they’re all signed by fx(hash), you may want to clear/refresh the metadata in your wallet so that the names and thumbnails are updated.
Step 2 – Get the token IDs
Go to your project’s page on this site: https://fxfam.xyz/YOUR_PROJECT_ID. Thanks to @zancan for creating this resource. This site uses the fx(hash) API to display a list of minted editions and the owner. We want to scrape the list of the tokens we minted from this site.
Open up the JavaScript console and paste this script to the console. Before hitting enter, change YOUR_fx(hash)_ID to your fx(hash) username on the fourth line of code.
let a=[];
document.querySelectorAll('li.token').forEach((e,i) => {
let o = e.querySelector('div.owner').innerText;
if(o === 'YOUR_fx(hash)_ID') {
let lnk = e.querySelector('div.inner a');
a.push(`${lnk.href}\n`)}});
console.log(a.join(''));
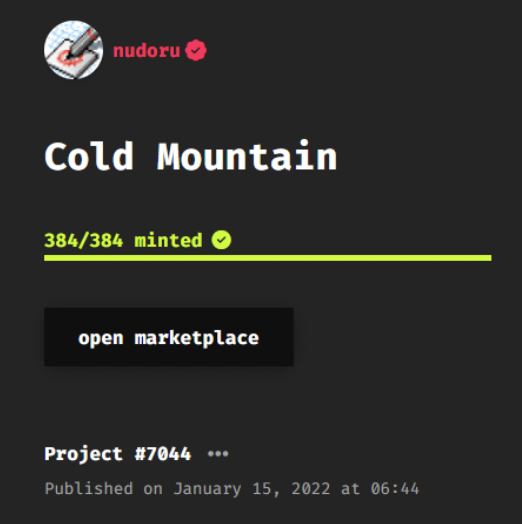
As an example, the project ID is 7044 in this sample below.

Voila! Now you’ll see a list of all of the tokens you hold for this collection. Copy and paste this list to column A on tab 2 of the Google sheet. We just need the ID number of each mint, and the google sheet will automate extracting this for you.
Note: Sometimes it doesn’t load all of the editions and you’ll need to refresh the page. Make sure that all editions have loaded before pasting the script for this step.
Step 3 – Get the list of lucky wallets
How you determine which wallets will receive an airdrop is up to you, you just need a list of them for column A of our sheet. Use tab 3 in the google sheet for these steps.
If you want to use the owners of previous projects:
- Visit your project on https://fxcollectors.stroep.nl. Shout out to @mknol for creating this.
- Enter your project ID and hit enter.
- Click the Owners tab. This entire page is sorted by the number of pieces in the wallet. Scroll to the very bottom of the page and you’ll find a text area of wallet addresses. This list is ordered by the number of pieces in the wallet, so if you want to airdrop to just holders of a specific number of pieces, you can compare the first on this page to determine where to cut it off.
- Copy and paste the wallet addresses to column A of tab 3 in the Google sheet. Note: In a recent update, the number of editions is after the wallet addresses. You’ll need to manually remove this in the Google sheet.
- You can pull wallets from multiple projects, just keep copying and pasting to the bottom of the list in the sheet.
- If you want to remove duplicate wallets so that everyone only gets 1 airdrop, do the following: In Google sheets, select column A, then Data menu > Data cleanup > Remove duplicates.
- How do you want to assign tokens to the wallets?
- Want your largest holders to get lower numbered editions? If so, you’re done.
- Want everything randomized? Shuffle the list: With column A still selected, Data menu > Randomize range. Do this as many times as you want, but I usually do it 3 times for a good shuffle.
- Want to pick and choose which wallet gets which pieces? Just put them in the order that you want and confirm they match on the first tab.
Step 4 – Double-check the sheet
Now, in the first tab (_final for CSV), you should have a Google sheet with 3 columns: a list of wallets, a list of your minted IDs, and a 1 beside each in column C. Make sure all of the data matches up and that columns A and C are the same lengths as column B.
Export the list: File > Download > Comma Separated Values (.csv). Open up your CSV to confirm you have just one tab with three columns.
Step 5 – Airdrops!
Now for some magic, thanks to the work of @pureSpider.
- Go to http://batch.xtz.tools and connect your wallet.
- Pick “fx(hash) 1.0” in the FA2 Contract drop down.
- Upload or paste the CSV file.
- Do a quick double-check of the data.
- Click Send Transaction, and approve the transaction through your wallet. In a few minutes, you’ll see all of the transactions sent.